AirMaks Arms at The British Shooting Show
News Events
Create a FREE business profile and join our directory to showcase your services to thousands.
Create my profile now!
Making sure your rifle is completely clean is vital to do after each and every time you use it. To prevent working parts from breaking and to get the optimal performance from your rifle, cleaning has to be done properly.
Here is everything you’ll need to get together first before starting:
- A gun cleaning lubricant
- A bore cleaner foam
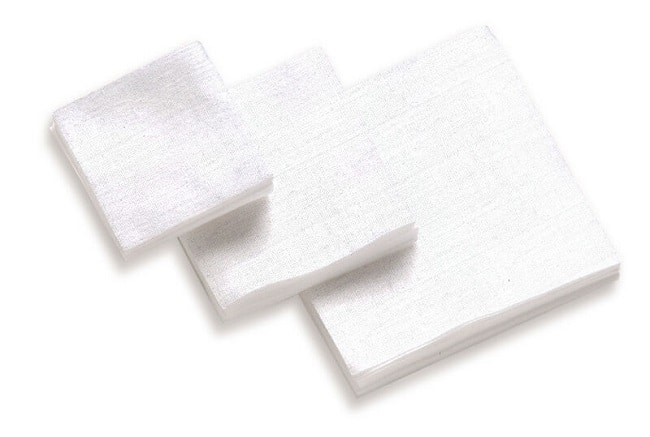
- Barrel cleaning patches (suitable for your rifle calibre)
- A cloth
- A brass brush and a jag (both in your rifle calibre)
- Gunsmithing tools
As with all guns, the first thing we’ve got to do is make sure that it's safe and is unloaded. Then - as far as we can - try and remove everything that's not the gun.
That means taking off the bipod, the moderator, the scope (if it’s possible), slings and swivels. This is just to make your task of cleaning a lot easier. Obviously, the bolt should be removed of course as well.
There are a couple of different areas that you should try and concentrate on when cleaning a firearm, and it doesn't matter whether it's a shotgun, a pistol, or a rifle; it’s all the same principal. With a rifle you should try and concentrate on:
- The chamber
- The breech area
- The crown
- The barrel
- The internal of the barrel
- The bolt
- The overall rifle
The Barrel
The first thing to start with is the foaming bore cleaner. Most bottles of this will have a right-angled attachment on them which allows you to get inside the chamber and apply it along the barrel. In some calibres, for example a .17, you might find it a little harder to get in there, so you may find it easier to apply the foam from the muzzle end instead. Spray it back down the barrel from the forend and you’ll pretty much be able to get the same effect.
Once you’ve done this, leave it to one side for 20-30 minutes to allow the foam to dissolve. Once you’ve waited for this period of time, you should notice that any dirt, excess debris or fouling will show up and become a lot looser, allowing you to simply remove it.
The best way to remove the dirt from the barrel is to get your Brass Brush and attach it to the Cleaning Rod. You can then run the rod through the chamber and out past the muzzle end - the brush should come out with some excess carbon and dirt on it. You should only need to do this once, so you can remove the rod and the brush from the barrel and give them both a wipe with your cloth.
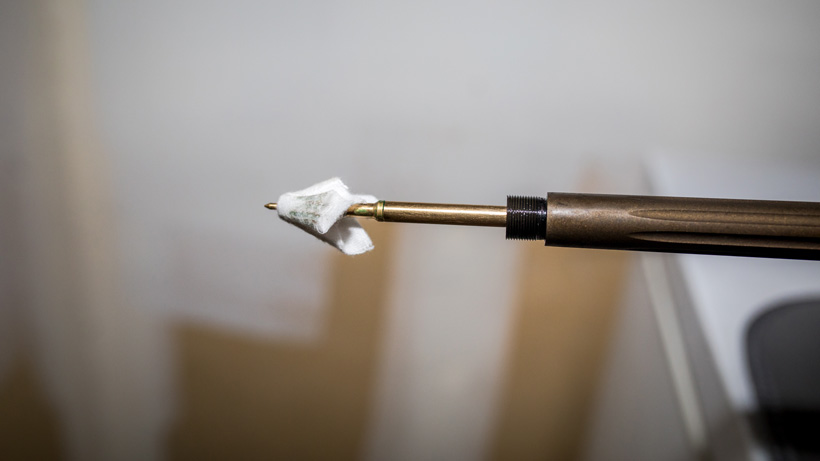
Now you can take The Jag and attach it to the cleaning rod. On top of the Jag you’ll need to take a Cleaning Patch sheet and place it over the end of your Jag. Once again you need to push the rod through the barrel, but make sure that you go from chamber to muzzle so that all of the dirt you have just moved towards the forend doesn’t end up back where it came from. Throw away your dirty patch and replace it with another - keep repeating this process until you get a patch that comes out clean. You can probably expect to use around 6 or 7 patches for each clean.
To finish this part of the process you can simply take your cloth again and wipe in a circular motion around the end of the barrel. You’ll probably find that a few last bits of dirt and carbon will show up.
Next up is your Gun Cleaning Lubricant. There are many different types and brands that you could use for this, but as a recommendation the Gun Cleaner by Napier is a good investment. We’re going to use this inside the barrel again to not only add an extra layer of deep cleaning, but to prevent corrosion of the metalwork and to lubricate the barrel as well, so this is a vital step!
You can apply this from whichever end is easiest (chamber or muzzle), but preferably from the high point at which your gun is sloping from in its sitting position, so that the lubricant will run down further into the barrel once you’ve sprayed. You can be quite generous with how much you use, as the lubricant will be very useful in preserving the condition of your rifle.
Once again you’ll want to wait to allow the lubricant to run into the rifling of your barrel, but you’ll only need to wait for 5 minutes or so before it’s ready.
To remove the residue, you should simply repeat the push-through using the rod, jag, and cleaning patch as you did with the cleaner foam. This time, just push your rod through once with a jag and cleaning patch attached to the end. You may see a considerable amount of liquid come out of the muzzle - this is expected and anything left in the barrel afterwards will help keep your rifle lubricated for longer.
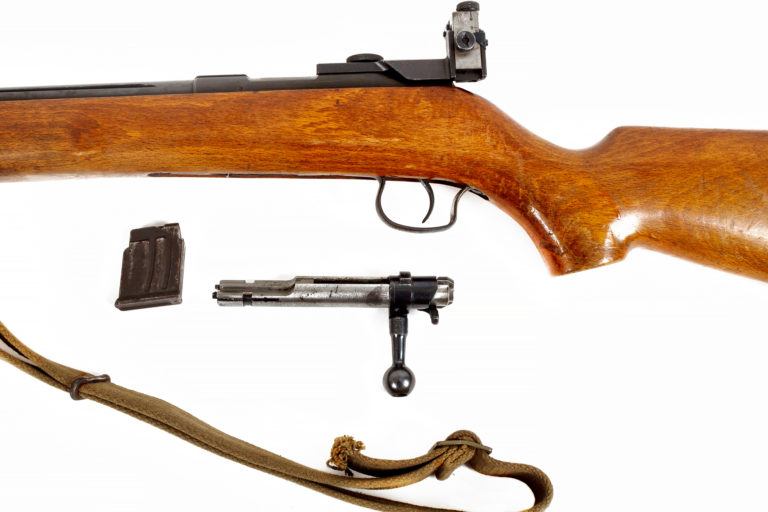
The Bolt
Next, you need to clean the bolt. If you do have a set of basic gunsmithing tools then this job will be a little bit easier. If you remove your bolt from the gun you’ll notice a little build up of excess under the extractor and under various lips of metalwork. You can use your gunsmith tools or something edge with a slightly sharp edge just to scrape away the dirt from tight, hard to reach areas. You can then wipe it away using your cloth. Use your cloth again just to wipe the bolt down all over.
Get your cleaning lubricant again and just spray the bolt once over with a thin layer of lubricant and wipe it down again. This will help your bolt action to keep working smoothly and without any grinding or clunking.
The Magazine
Magazines don’t always get too dirty but they’re an important thing to keep dirt-free, especially if your rifle is a semi-automatic firearm, as you’re likely to encounter jams if they’re not looked after.
Make sure you remove the magazine and work away at any dirt inside it with a cloth. Then in the magazine well of your rifle you want to thoroughly wipe that, as well as inside the receiver. You’re just looking at getting rid of loose dirt, metal or carbon etc.
Pick up your cleaning lubricant once more and spray and wipe over the well, receiver and bolt entrance as you’ve done with the bolt previously. It’s wise to leave a little of the lubricant sitting there to keep all of your working parts functioning smoother for longer.
Once you’ve finished, you can replace the bolt back into its housing; you can test the action so that you’re happy with how it functions.
The Rifle Exterior
To finish up, use the lubricant just to spray and wipe over any of your exterior metal or woodwork that needs a bit of extra shine - especially the outer of the barrel. Once you're happy with the shine and how your rifle looks, it’s ready to go back in the cabinet!