Savage Arms: Long-Range Shooting Specialists
News Events
Create a FREE business profile and join our directory to showcase your services to thousands.
Create my profile now!
(Eerie music)
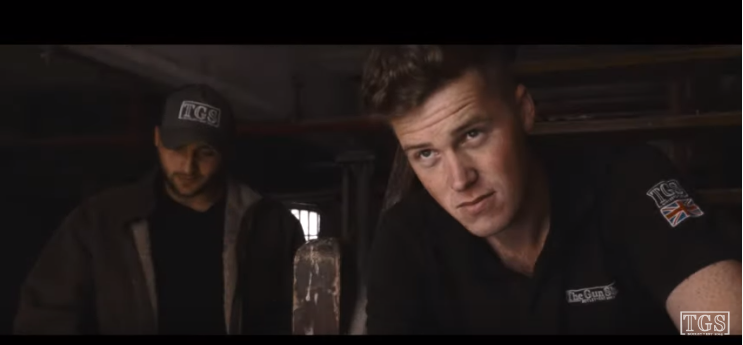
(Jonny sits in a dark corner of The Gun Shop, having flashbacks)
“70 quid, that’s gotta be worth a call”
“They say it’s in poor condition, how poor a condition can it be in...?”
“So I’ve allotted an hour to take this action apart and I’ve just wasted 15 minutes on two goddamn screws!”
“This was a mistake.”
“The sear spring is snapped, this belongs in a scrap bin.”
“Buy Spanish! You're actually not going to get something that’s completely and utterly rotten all to hell.”
(Sasha walks up from the back ground to see Jonny)
“Jonny mate, is time.”
“Come on mate It’s been ages they-
not after last time! I just, I just can't do it.”
“They issued the challenge months ago. If we don't do this they're going to pull the plug”
“I just can't.”
“Come on mate this could seriously help with the new TGS merch for TGSoutdoors.co.uk”
“Ahh come on then!”
BACK FROM THE BRINK .2!
So given the bad choices I made last time, mostly in selecting the gun to get; this time Gunstar actually provided the gun for us. They dropped it off when I wasn't here, and it’s been set up on the table over there. This is the first glimpse I'm going to have on it. The only brief I’ve received is that it needs to look radically different...
Bugger!
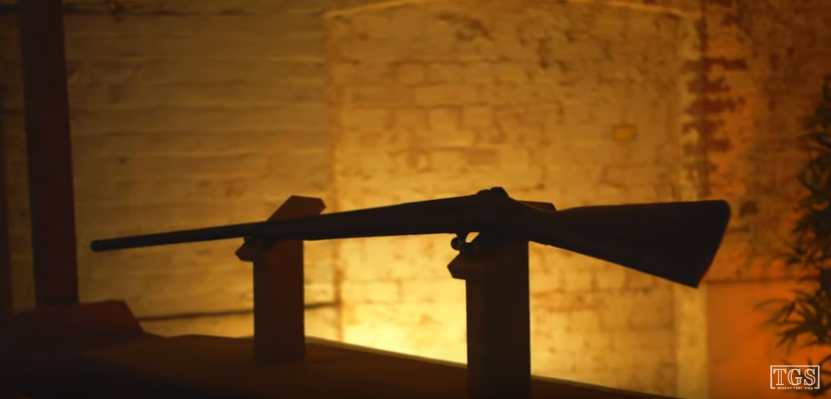
(Sexy Gun Footage)
So this is a little bit of a surprise - what this is, is an 1874 gras rifle or as we’d just call it normally a ‘fusil de gras’ model 1874. But it's not, because it's got a 12 bore barrel on it. A lot of these were converted later on in Belgium; you can see some Belgian proof marks on the front there. Internally It’s in less than exotic condition and externally it’s in less than exotic condition as well.
A cursory glance will show the stock is missing a chunk. It's got a large crack on the outside there and the stock has been sort of refinished but then beaten all to hell. We've got some cool markings. I mean, I'm really not a specialist in these by any means but we’ve got 14RR, E2, 227.
This is a service gun that’s been changed into a shotgun and I have to do some radical changes to it. At this point all of the purists should turn off because there aren’t so many things you can do and the most radical change would be to turn it back to an original-ish gun, but that just seems a little boring though!
My initial thoughts - and I'm sure this will change much as it did last time - is we're going to sort of ‘white and black’ this rifle. We're going to have polished parts with blued parts., we can darken the stock down, and genuinely, well we're going to fix the cracks (it’s certainly got a big crack running through the bottom there, oh my god look at that!). You've got a weird inletted piece of wood in the front there; chances are I'll rip that out and put a bit of wood in that doesn't look quite so bad, and yeah...
So. Polished parts, black parts, refinish the stock, checker the stock - you’re gonna hate that purists - and then take it on another adventure. Sounds like a plan!
So without further ado, let's get to the work bench, strip her apart and see what nightmares lie beneath.
Welcome to the new set, as you can see, it's been a work in progress and over the course of this series every time we get fed up with this gun, I'm going to do something to the set. So you’ll see this evolve and change behind me.
To limit myself in this first episode we literally are going to use some of those basic things to test the water.
We have a bit of sandpaper, a bit of wire wool, we have two screwdrivers and a file (hopefully we need to use that). What we’re going to do is quite simply strip it and assess how bad this nightmare’s going to be.
For those of you who remember series 1, the first screw that I took out took 20 years. This first one has just taken me 20 seconds! I don’t want to sound big headed but currently, I feel like we could be onto a winner.
(Some time later)
Yes, it's Amateur hour, I'm afraid. I'm gonna go get another screwdriver - here’s me thinking I was clever!
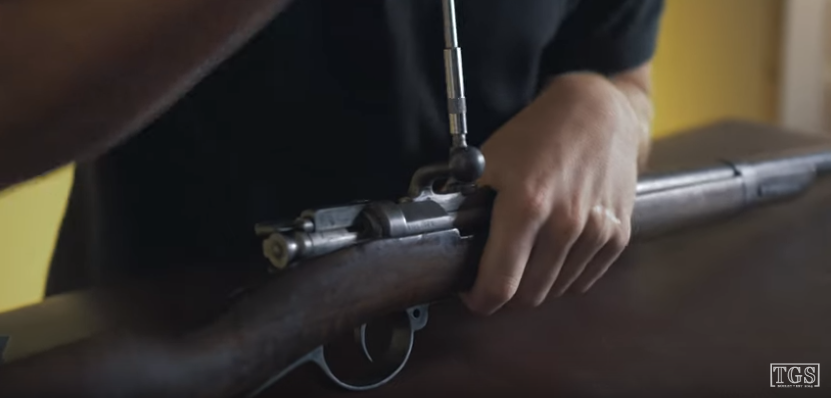
A little bit of a long day - where they've had to put this gigantic bolt head on that is larger than the bolt because this initially obviously was not in a 12 bore, it was in gras’ own proprietary cartridge at first and then changed later on.
We have got a two-piece bolt head there so the bolt head comes out. It's quite nice how that extractor actually just sits in there, clever old Belgians. Let's pop it out.
Well so far, this gun’s coming apart just nice!
There we go. So there are some things about the conversion that I would say I'm less than happy with or less enthused by. This Inlet piece of wood here is not great - I mean it's done well, but it just doesn't match does it and I'm really hoping that I might be able to pop that out and replace it with a bit of Walnut. Alternatively, and hence we've got all our little testers here to sort of test the water, if we sand her down, no she is most definitely not. If I’d have brought a powerful enough sandpaper...
Suddenly, I'm realising that the finish on this stock is going to take some serious removal. But this isn’t walnut. That is not Walnut. So it's going to have to go, removed, put a new piece in. Quite Jolly to put a forend tip on it. I'm not committing to that yet.
Oh my goodness gracious me. Come have a look at this crack. So as you can see, the crack starts here, runs back down, up around, we're missing a chunk and then it runs all the way down the center of the gun. Goes in two for a short way, joins back into one and ends - there!
We're going to pull this out quickly. This is fairly common on anything like this, the screws are already fairly well damaged, which is nice. I presume whoever took them out when they were once upon a time tight suffered that fate. Out she comes, here she is!
You’ve got the thread there, and initially, obviously this bit of wood would’ve been a channel running all the way down the gun. I presume with the cleaning rod threading into the end of that there as that dropped into the gun, that’s my mild presumption.
Look we’ve got bits of wood falling out all over the place, once you put it in you can actually see around the outside here how the inletting has strayed. If we pull the action out, the join actually is sort of falling out from the top so if you press in from the lips of the top and I don’t want to press too hard because it’s clear that it's fragile, it does go back in slightly, but I think this is going to be one of those ‘Rectify what we've got rather than try and reform and repair’. So that's priority number one; to get this stock crack fixed, get this aesthetic lump sorted and get this channel taken out and redone and this retention spring, hopefully, will stay exactly where it is for now. I can knock that out later on.
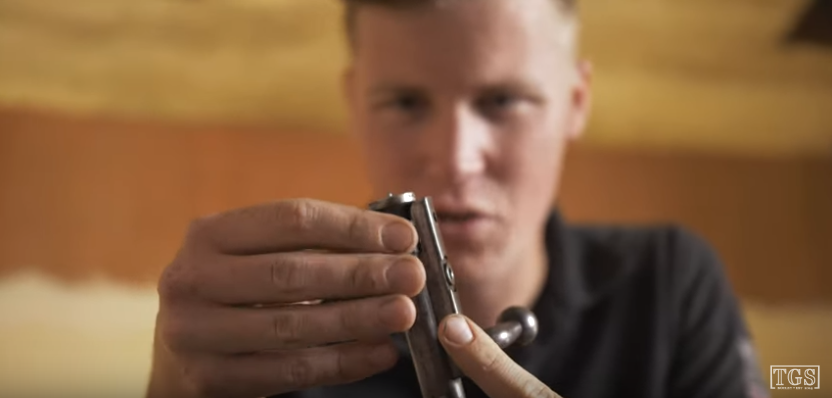
The bolt actually isn’t in awful condition. The firing pin looks like it was made in a workshop yesterday - well it doesn't but it's not too bad. It’ll be a case of strip it, service it, and give it a good old clean where necessary. But again, I am feeling that white and black, going with the light and the dark high contrast. So certain parts of this bolt we're going to put into a high polish, which is going to involve lots of this and some water and a mop. And certain parts of it we’re going to blue but we're going to cold blue it obviously because the hot bluing would involve an investment and I'm not really ready for that.
Here you go. That's the bolt head put back on the gun there and just chucked in just to make sure she runs, which she obviously does with a large amount of protrusion of firing pin at the end there which is quite a lot and we’ll have to dress that back if it starts bursting primers. However, I expect the head space on this thing is somewhere between just right and not quite right. I'm going to save that to last though. This is an aesthetic project, although I do intend to shoot it when we're done. Obviously these things are legendarily averagely built and as such…
Jesus Christ. All of these marks put across the bottom from the life this gun has had - quite exciting really and it's going to end its life here with us and we’re going to really, really thoroughly enjoy it - makeovers!
Let's take the trigger spring out. You really have to love how simple the triggers were back then. Your trigger spring is actually built onto the lump itself and all you're doing essentially is holding this lump on that bolt until you pull the trigger and that goes down and this flies forward, pushing the firing pin out into oblivion - ideal really. Anyway the moment of truth!
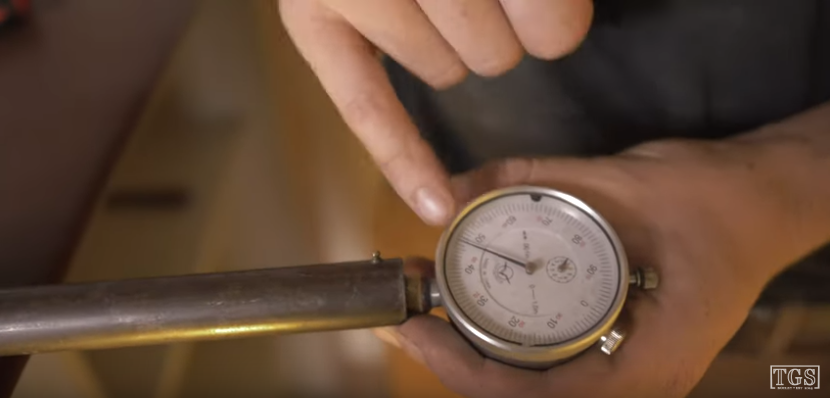
She is pitted, but we all know that you can't expect any different to that. It says on the bottom here she's 18.8 bored, which is really overboard. But again, you can't expect much different from something quite as agricultural as this. There is what feels like absolutely no choke. Let's just test that out, I did see my gauge in here.
Here we go, so we have it at 747 a standard nominal 12 bore, 18.3 is 729. So it is overboard but let's say it's backboard like modern technology in this gun right here, just like a Browning. And choke: negligible. Absolutely negligible. So we have here a straight piped, what looks probably a 29-inch/30-inch single-shot, bolt-action, 12 bore shotgun, made some hundred and something years ago and ike I said from the proof stamp story had a really miserable life.
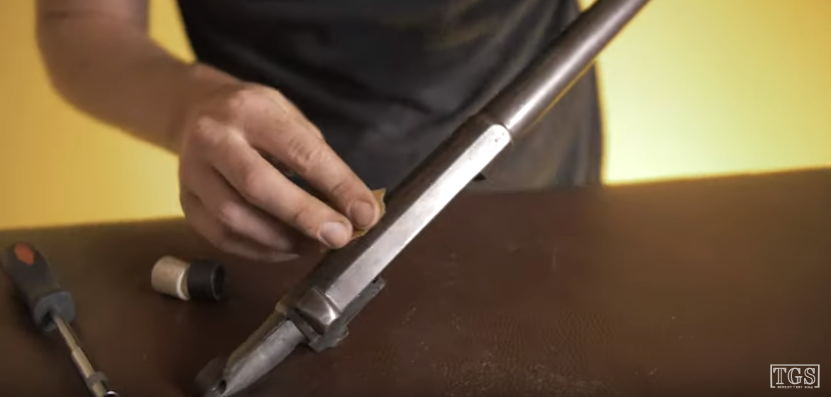
So let's start with the stock shall we? First let's have a little look see how hard this wood is, see if we can actually knock some of that finish off with this wire wool.
Okay, I think we're going to be onto a winner here. I think that the finish on this wood is actually really very shallow. What we are going to struggle with is some of these larger scars. So what we're going to do to start with the wood is I'm going to start from high-grade grip and I'm going to actually take the whole surface off, certainly around the stock and certainly around here. Obviously being very careful around the inlet areas, because actually this wood if we look at it so, sits around the metal work quite nicely - and the last one we really want to do is mess that up.
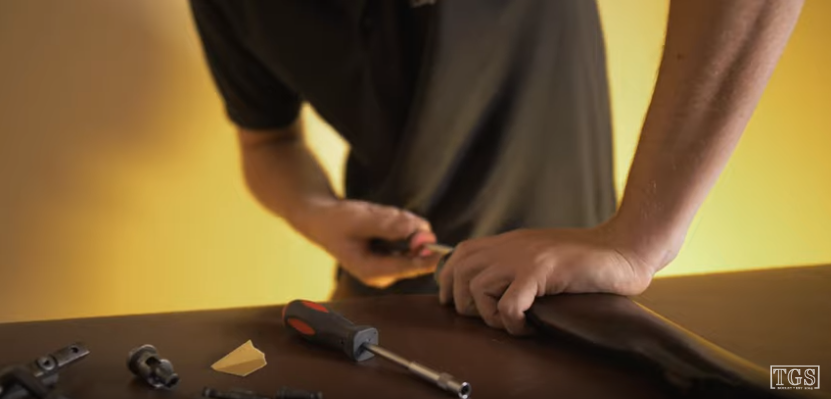
However, before we go actually what we will do is pull this trigger guard off and we have this Bates plate in silver so I'll actually polish that with sandpaper into the wood as part of the inverting process. Obviously before doing any of this we're going to try and address this big crack. If anything more than likely I'm just going to put some cross pins in and fill it so it doesn't get any worse. We're also going to drill out and put some stops in here, And I’ll probably do exactly the same on the outside here. It's gonna be a little bit of a difficult one, especially seeing as to checker it i’m not sure what recurring pattern to do. My guess will be just to do a small panel on either side, brought down to a point at the back here potentially, or maybe just a small panel on either side, or maybe just one for a right hand - depends how fed up we get. We know what I get like down the road!
On the back, we're going to give this pad a polish and what we are going to do while we’re doing this is we're going to try and avoid actually removing any of the original marks, because as much as we are going to turn this gun into something a little bit crazy, we're not looking to delete the history. It needs to maintain that character or I could’ve just got any old crappy single shot and done this to it. So it still needs to be a Fusi de Gras and it still needs to then be the TGS rifle at the same time, so it needs to have the history as well as the modernist.
And then, we're going to take it out, take it on the road and see if we can shoot something with it. As for the action, well, this is where I'm in a quandary. The bolt is an easy one. The bolt what we're going to do is have some parts in black and some parts and high polished silver and it’s going to have a nice contrast and hopefully a little bit of a better finish than we're running at the moment. The trigger - not much point doing a trigger job to it because actually at this point having seen a lot of these where people have taken anything off the trigger, they NEED a heavy trigger. Otherwise, they’re just quite dangerous. There is a safety but you know, I don't want anyone to die because of this gun. We're going to keep it as safe as possible and yeah, it's got a heavy trigger but let’s call that part of the charm!
The action: this I haven’t decided on yet, certainly what we're going to start with is we're going to give it a clean and a polish and we're going to remove a lot of the old blacking that's on there as you can see. There’s a certain amount of patina on there - we don’t want this gun to have patina on it, we want this gun to be shiny and exciting.
Yes this does hurt me a little bit. But what we're going to do is bring ourselves back to Silver, remove a few of the machine works but not too many because again we're trying to maintain as much barrel thickness on this machine as possible. And then decide on a finish. Probably a long bit of cold blue, potentially with a couple of these face surfaces polished up, but we're going to play that one by ear.
Everything else is certain except this.
We’re then going to darken that wood down as part of the re-oiling process and see if we can bring out some of the grain in there, because actually this piece of wood secretly is going to be quite nice under there.
One thing I love about these old guns is how simple the ideas were but how complicated the mechanics were by our standards today. I mean you wouldn’t make a single big spring like this, it just wouldn't be worth it, it would be a lot easier just to make a standard module trigger unit than something like this because of the hand time that goes into it I guess. You know there's no bearings, no nothing. All you're doing is rocking that trigger around the back here and this sear sits just on the back of the bolt here and locks into place. As you pull that down it pulls out. It is super duper simple.
I'd love to do a little trigger job to this gun but having worked with a few before and somebody's already done a little bit of work to this, I don't want to. There's a variety of issues that can occur, the biggest being accidental discharge and nobody wants that, so I'm going to live with the slightly heavy trigger. It's definitely part of the charm.
Anyway before we wrap this up for today i’m just going to pop the last little bit off because it's all gone so well, this is the butt plate!
One down. And now the final one that's the rustiest screw so far I can see in the top there. Well, let's give this last one a go shall we?
It’s coming... I'm having flashbacks Sash i’m having flashbacks! It had a bit of bite to it. A few big bruises in this gun, a little bit of rust on the inside there. But again, that's not the end of the world. We’ll give this a good polish up, re-attach the gun and then bring the sandpaper over the sides and sort of refinish it into the gun a little bit. Again, try and retain those marking there because it is all part of the character. I always wish gun can talk to be honest and some of the stories they tell would be absolutely epic wouldn’t they? I mean, this gun's been probably halfway around the world and has been in the hands of probably various Armed Forces over the years, but now it's landed for its next stage of life, here!
I hope you've enjoyed this first episode. This was a bit of a surprise. I was hoping they were going to give me a Spanish side by side - that's what all the discussions had led to and now I'm left with this. Well, I need to go and sort my state of mind out and come back.
We'll tackle it in episode two. See you later guys!